
Every digital entrepreneur knows the frustration of hunting for scattered files just when you need to present a new tech accessory design to your audience. Building custom accessories for popular devices means collecting the right high-quality assets and organizing them up front. Freelancers across the United States and Canada can speed up their workflow with a centralized asset collection process, making each mockup step smoother and helping their tech products shine online.
Table of Contents
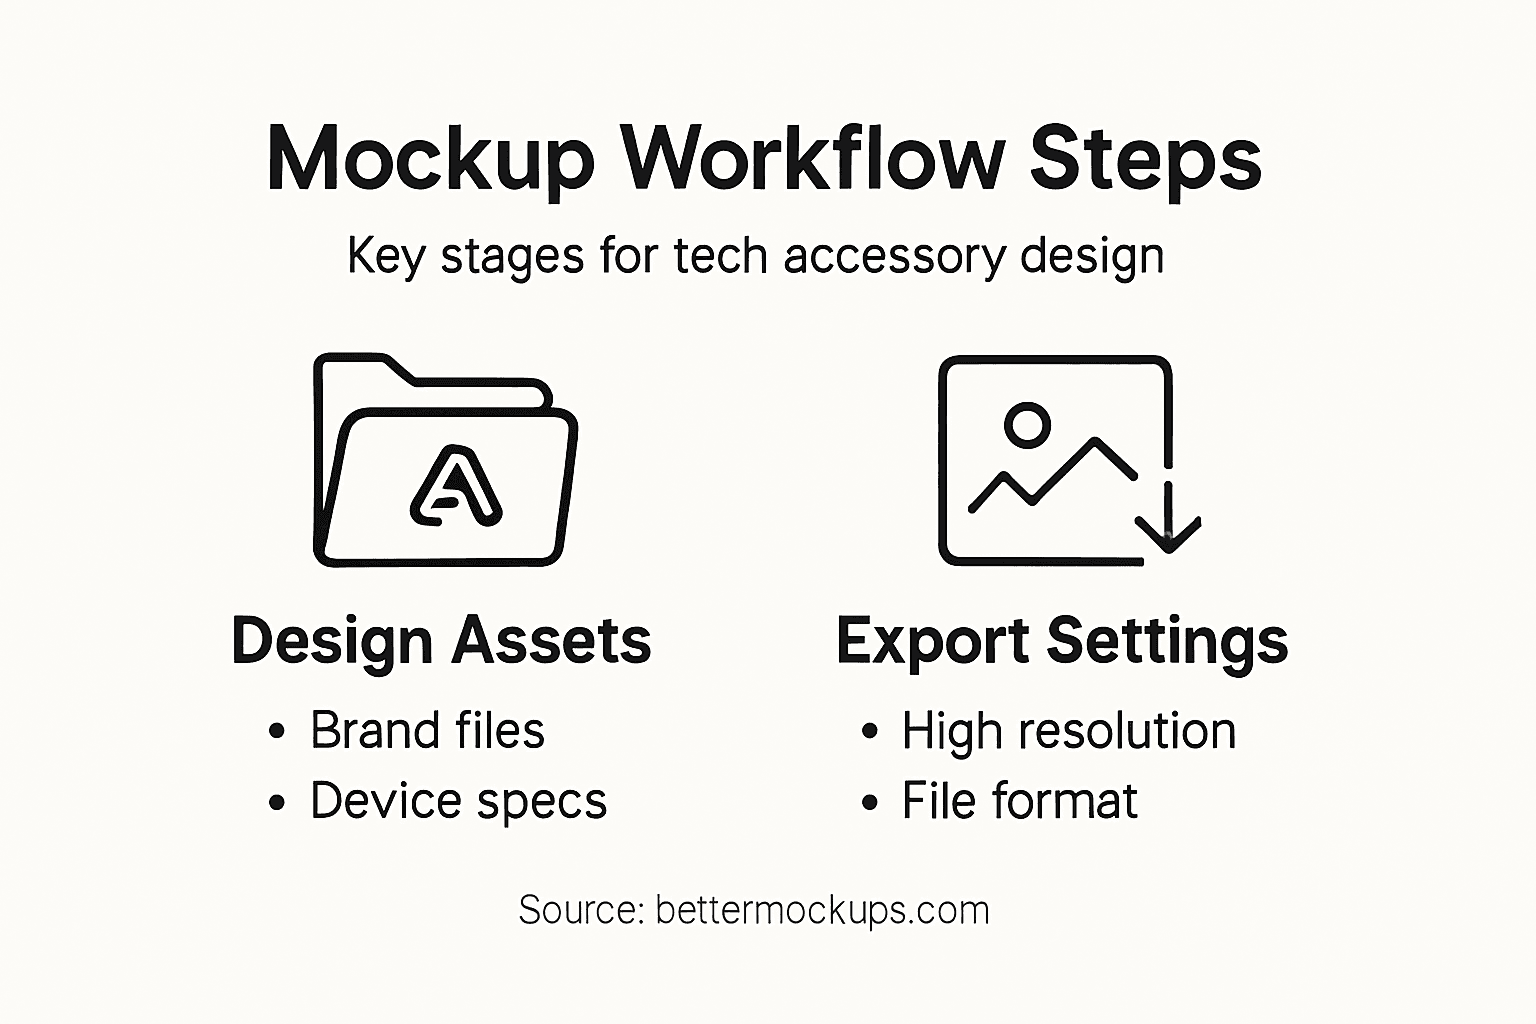
- Step 1: Gather Design Assets For Tech Accessories
- Step 2: Select And Customize Mockup Templates
- Step 3: Apply Branding And Optimize Product Visuals
- Step 4: Verify Mockup Quality And Export For Use
Quick Summary
| Key Insight | Explanation |
|---|---|
| 1. Organize Design Assets Early | Gather high-quality visuals and technical specs to streamline mockup creation and avoid rework. |
| 2. Choose Appropriate Mockup Templates | Select templates based on product type and presentation needs to enhance workflow efficiency. |
| 3. Apply Consistent Branding Elements | Ensure branding elements like logos and colors align with guidelines to build customer trust. |
| 4. Verify Quality Before Exporting | Conduct thorough checks on mockups for alignment and color accuracy to maintain professionalism. |
| 5. Use Correct Export Settings | Adjust resolutions and file formats based on the intended use of your mockups for optimal display. |
Step 1: Gather design assets for tech accessories
Before you can create compelling mockups, you need to collect all the visual materials and technical information that define your tech accessory. This step determines the quality and accuracy of everything that follows in your mockup workflow.
Start by identifying what assets you actually need. For most tech accessories like phone cases, screen protectors, or device skins, you’ll want high-resolution product images, brand logos, color swatches, and any existing packaging designs. If you’re creating accessories for specific devices, gather the official device specifications and dimensions from the manufacturer.
Having organized, high-quality assets from the start saves countless hours of rework and frustration later in your design process.
Collect these key categories of materials:
- Product photography - clear images showing your accessory from multiple angles
- Brand elements - logos, color palettes, and typography files
- Device specifications - accurate dimensions and technical details for compatibility
- Reference images - competitor designs and inspiration for your market segment
- Texture and material samples - if you’re designing custom finishes or materials
For tech accessories specifically, Apple’s accessory design guidelines provide valuable technical requirements if you’re building products compatible with Apple devices. This helps ensure your designs meet ecosystem standards and don’t conflict with device functionality.
Organizing your assets matters more than you might think. Use tools for collecting design references systematically so your team can access everything in one place. Services like Milanote or Eagle allow you to organize inspirations, sketches, and digital files in ways that keep your creative workflow moving forward without hunting for scattered files.
Make sure you have access to the actual brand guidelines or style sheets if you’re working with existing brands. These documents outline rules for logo usage, color codes, minimum sizes, and spacing requirements. Nothing derails a mockup faster than realizing mid-project that you’re using the wrong brand color or logo version.
If you’re working with print-on-demand services or manufacturers, request their technical specifications now. You’ll need exact dimensions, safe print areas, color profiles, and file format requirements. These details directly impact how your mockups will look and whether your designs are actually producible.
Pro tip: Create a centralized asset folder structure that mirrors your mockup workflow stages, with subfolders for raw images, approved brand files, device specs, and reference materials, so nothing gets lost as projects scale up.
Here’s how common asset types influence the tech accessory mockup process:
| Asset Type | Why It’s Important | Impact on Mockups |
|---|---|---|
| Product Photography | Shows details and angles | Enhances realism and accuracy |
| Brand Guidelines | Ensures proper logo use | Maintains brand consistency |
| Device Specifications | Supports compatibility | Prevents sizing errors |
| Technical Templates | Supplies safe areas | Avoids print and trim mistakes |
Step 2: Select and customize mockup templates
With your design assets organized, it’s time to choose mockup templates that match your tech accessory type and brand vision. The right template accelerates your workflow and ensures consistent, professional presentation across all platforms.
Start by identifying which template categories fit your products. Phone cases need different templates than screen protectors, and device skins require their own specialized formats. Think about where you’ll use these mockups too. Social media mockups differ from marketplace listings, and advertising mockups need different angles and compositions than product pages.
The template you choose shapes everything that follows, so match it to both your product and your intended audience.
When selecting templates, consider these factors:
- Device compatibility - ensure the template matches your specific device model and generation
- Customization options - look for templates offering color changes, texture adjustments, and background flexibility
- Resolution and quality - choose high-resolution templates that showcase fine details of your accessory
- Lighting and shadows - realistic lighting sells products, so prioritize templates with professional lighting setups
- Brand integration - verify the template allows seamless insertion of your design without awkward gaps or misalignment
Once you’ve selected your template, customization is where your brand stands out. Upload your design files and adjust them to fit perfectly within the mockup’s designated areas. When generating professional mockups, use blend modes like multiply to integrate your designs naturally with the template’s existing shadows and lighting.
Pay attention to color accuracy during customization. Your design might look different in the mockup than in your original file due to lighting and shadows. Make adjustments in your design file itself rather than trying to fix color issues in post-processing. This keeps your workflow cleaner and more repeatable.
Test different background options if your template allows it. What looks stunning on white might fall flat on a textured background, and vice versa. Many tech accessory mockups work best with clean, neutral backgrounds that don’t distract from the product itself, but context matters depending on your target market.
For brands looking to explore different mockup types, understanding different mockup template options helps you match templates to specific use cases and sales channels.
Pro tip: Save your customized mockup as a master file with layers intact so you can quickly swap out designs for new products without starting from scratch each time.
Step 3: Apply branding and optimize product visuals
Now comes the stage where your mockup transforms from a generic product presentation into a branded experience that builds customer trust. Your visual identity shapes how customers perceive quality and value, so consistency matters across every detail.
Start by reviewing your brand guidelines and applying them systematically to your mockup. Your logo placement, color palette, and typography should match what customers expect from your brand across all touchpoints. If you don’t have formal guidelines yet, document them now before you apply inconsistent branding across different mockups.
Consistent branding across all product visuals increases recognition by up to 80 percent and builds the trust that drives conversions.
Apply branding through these key elements:
- Logo integration - place your logo prominently but without overwhelming the product itself
- Color consistency - ensure colors match your brand palette and appear accurate across different lighting conditions
- Typography - use approved fonts for any text overlays, taglines, or product descriptions
- Visual style - maintain consistent backgrounds, props, and composition across your product lineup
- Tone and mood - choose backgrounds and lighting that communicate your brand personality
Optimizing visuals for different sales channels requires strategic adjustments. What works for social media advertisements differs from marketplace product photos. Understand effective visual branding strategies for product sellers to communicate your product value authentically to your target audience across different platforms and regions.
Test your mockups at different sizes to ensure branding elements remain legible and impactful on mobile devices. Many customers browse on smartphones, and a logo that looks perfect at full size becomes invisible at thumbnail size. Zoom out and view your mockups at 25 percent scale to catch these issues early.
Color accuracy is critical during optimization. Mockup lighting can make colors appear warmer or cooler than intended. Adjust your design file colors slightly if needed, then verify the result in the mockup before finalizing. Taking time here prevents the frustration of discovering color mismatches after production.
Applying comprehensive brand guidelines during visual optimization ensures your mockups communicate a cohesive brand experience that builds consumer confidence and clarity in a competitive market.
Pro tip: Create variations of your mockup with different backgrounds and lighting scenarios, then test which version generates the highest click-through rate on actual marketplace listings or ads before settling on your final version.
Step 4: Verify mockup quality and export for use
Before your mockups go live across marketplaces and marketing channels, quality verification ensures they meet professional standards and represent your products accurately. This final checkpoint catches issues that could undermine customer trust or limit your sales potential.
Start by examining your mockups at full resolution on a large monitor. Details invisible at thumbnail size become obvious when you zoom in. Check for alignment issues where your design meets the mockup edges, color inconsistencies caused by lighting effects, and any visible seams or artifacts that break the illusion of realism.
A single polished mockup outperforms ten mediocre ones because customers make split-second decisions based on visual quality.
Run through this quality checklist before exporting:
- Design placement - verify your design sits perfectly within the product area without gaps or overflow
- Color accuracy - confirm colors match your intent and look consistent across mockup variations
- Lighting and shadows - ensure shadows fall naturally and lighting appears realistic, not blown out or too dark
- Text legibility - if text is present, confirm it reads clearly at thumbnail size on mobile devices
- File integrity - check that all layers are intact and no elements have accidentally moved or hidden
- Background consistency - verify backgrounds match your brand aesthetic across all mockup variations
When you use AI-powered mockup verification tools, they automatically identify ideal product placement and help refine shadows and layouts for professional consistency. These tools streamline the quality check process significantly.
Export settings matter tremendously for how your mockups perform. High-resolution mockups (300 DPI minimum) work best for print materials and detailed marketplace listings. Web mockups can use 72-96 DPI but should still be at least 1200 pixels wide for retina display clarity. Different channels require different specifications, so verify platform requirements before exporting.
Choose the right file format for your intended use. PNG files work best for backgrounds that need transparency, while JPEGs compress well for social media. Using professional mockup creation techniques with non-destructive editing ensures your mockup files remain flexible for future updates without quality loss.
Test your exported files on actual devices before uploading. Download them to your phone and view them as they’d appear to customers. Colors sometimes shift slightly between editing software and real displays, and this final check reveals those surprises.
Pro tip: Keep your original mockup project file organized and backed up with all layers intact, then export multiple versions at different sizes and formats so you have assets ready for any sales channel or marketing opportunity without recreating work.
Compare key export settings for different mockup use cases:
| Use Case | Recommended Resolution | Best File Format |
|---|---|---|
| Online Store | 1200px, 72-96 DPI | JPEG |
| Print Catalog | 300 DPI or higher | PNG or TIFF |
| Social Media | 1080x1080px, 72 DPI | JPEG or PNG |
| Email Campaigns | 800px wide, 72 DPI | JPEG |
Elevate Your Tech Accessory Mockups with Bettermockups
Struggling to streamline your mockup workflow for tech accessories while maintaining brand consistency and photorealistic quality? The article highlights key challenges such as gathering high-quality product photography, customizing templates to match device specifications, and ensuring precise branding application to boost customer trust. Achieving professional, pixel-perfect mockups requires ready-to-use templates that save time and enhance visual impact across marketplaces and social media.
Discover how Bettermockups solves these pain points with our premium collection of customizable PSD and Canva mockup templates designed specifically for phone cases, AirPods cases, and electronic accessories. Our photorealistic and animated mockups come optimized for every sales channel so you can focus on growing your brand instead of technical hassles. Take the next step toward flawless product visuals that captivate customers by exploring our full mockup range at Bettermockups landing page. Start enhancing your ecommerce presence today with trusted, high-quality solutions crafted for digital entrepreneurs.
Frequently Asked Questions
What design assets are essential for creating tech accessory mockups?
Before starting your mockup workflow, gather high-resolution product images, brand logos, color swatches, and device specifications. Collect multiple angles of product photography and any existing packaging designs to ensure your mockups are detailed and accurate.
How do I choose the right mockup template for my tech accessory?
Select a mockup template that matches the specific type and intended use of your tech accessory. Consider customization options, device compatibility, and the template’s resolution to ensure it meets your presentation standards.
What is the importance of consistent branding in my tech accessory mockups?
Consistent branding across all mockups builds customer trust and recognition, which can increase brand recognition by up to 80 percent. Apply your brand’s color palette, logo placement, and typography consistently to create a recognizable visual identity.
How can I verify the quality of my tech accessory mockups before exporting?
Examine your mockups at full resolution on a large monitor to catch any alignment issues, color inconsistencies, or text legibility problems. Conduct a thorough checklist, reviewing all design placements and lighting to ensure a polished final product.
What are the best practices for exporting my mockups for different uses?
Export your mockups in high resolution (300 DPI minimum) for print and 72-96 DPI for web use. Choose the appropriate file format for each use case; for instance, use PNG for images that need transparency and JPEG for social media postings.
Recommended
- Mockup Design Workflow Guide for Stunning Product Images – Bettermockups
- How to Create Mockup Templates for Stunning Product Photos – Bettermockups
- Mock Ups: Transforming E-Commerce Product Listings – Bettermockups
- What Is a Product Mockup and Why It Matters – Bettermockups
- Step-by-step interior design elements: Create visual contrast – Dekoja.net


