
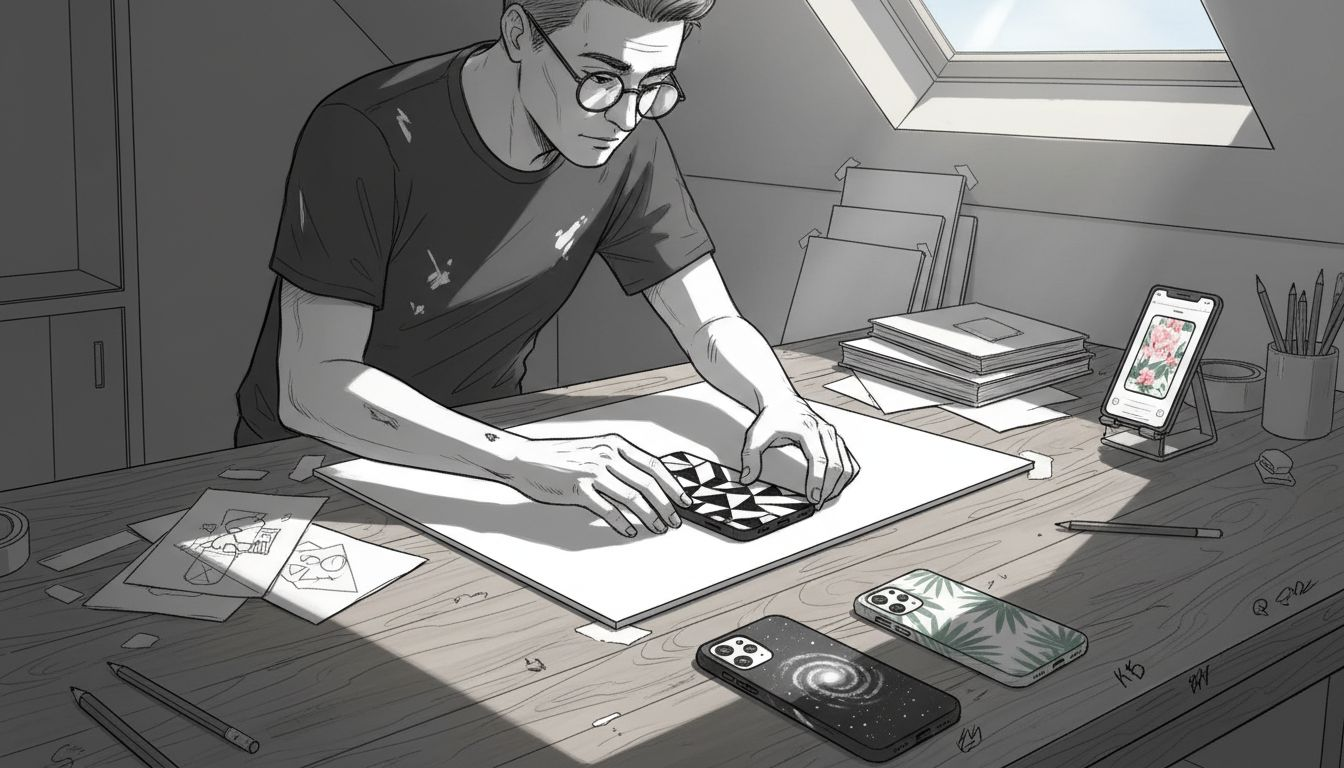
Finding the right phone case template often feels like searching for a puzzle piece that matches your exact design needs and brand identity. Choosing a model-specific template helps avoid costly mistakes, ensuring your custom artwork fits perfectly and displays key features clearly for customers worldwide. With options ranging from minimal to rugged, the right template serves as the foundation for professional mockups that draw shoppers in and build trust. Boldly focusing on accurate button and port placement makes your listing stand out from competitors.
Table of Contents
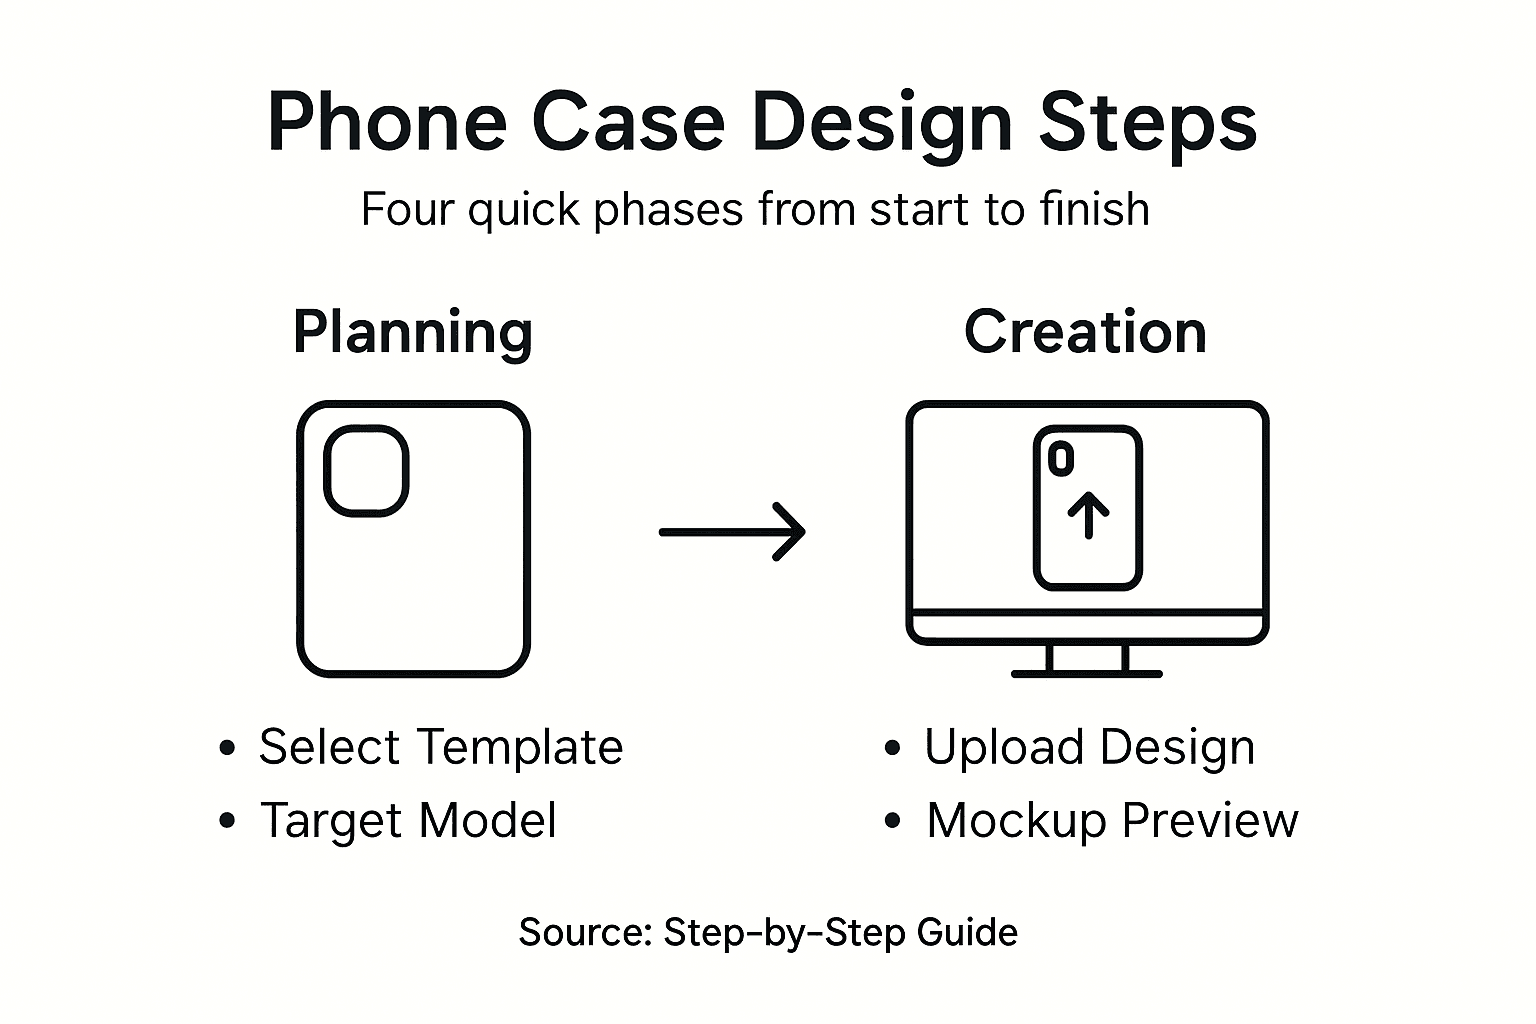
- Step 1: Select The Right Phone Case Template
- Step 2: Create And Upload Your Custom Design
- Step 3: Customize Mockups For Product Presentation
- Step 4: Review And Finalize Your Case Visuals
Quick Summary
| Important Insight | Explanation |
|---|---|
| 1. Choose the right template for your phone model | Selecting a template that matches the dimensions and features of your specific phone model is essential to avoid design mismatches. |
| 2. Use high-resolution images for designs | High-resolution images ensure that your phone case designs appear professional and prevent blurriness, enhancing customer trust. |
| 3. Customize mockups for various marketing platforms | Tailoring your mockups to different settings, such as lifestyle images for social media, improves product appeal and engagement. |
| 4. Conduct thorough reviews before finalization | A careful review of mockups for accuracy and visual quality minimizes issues and ensures customer satisfaction upon product launch. |
| 5. Organize files and use naming conventions | A structured file organization system improves workflow efficiency, making it easier to manage and update designs as needed. |
Step 1: Select the right phone case template
Choosing the correct phone case template is your foundation for everything that follows. The template determines whether your design will fit properly, display correctly, and ultimately convert browsers into buyers. This step requires attention to your specific phone model and understanding what makes a template work for your business.
Start by identifying your target phone models. Are you designing for iPhone 15, Samsung Galaxy S24, or multiple devices? Each model has different dimensions, camera placements, and button configurations. When you select a template that matches your exact phone model, you avoid costly mistakes like designs that cover important features or cases that don’t align properly with ports and buttons.
Consider what material and protection level your customers expect. Silicone cases require different visual presentations than leather or TPU materials. A minimal design template won’t showcase a rugged protective case the same way as a heavy-duty template would. Your template choice should align with the actual product you’re offering.
Look for templates that offer these key features:
- Multiple angle views so customers see the case from front, back, and sides
- Customizable backgrounds to match your brand colors or showcase different product variants
- High-resolution output for clear, professional mockups that build trust
- Accurate button and port placement that reflects the real phone model
- Flexible design areas where your custom artwork displays without distortion
Your template selection also affects your workflow efficiency. A well-designed template with editable layers saves you hours compared to starting from scratch. You can reuse the same template for multiple designs, scaling your business without proportionally increasing your workload.
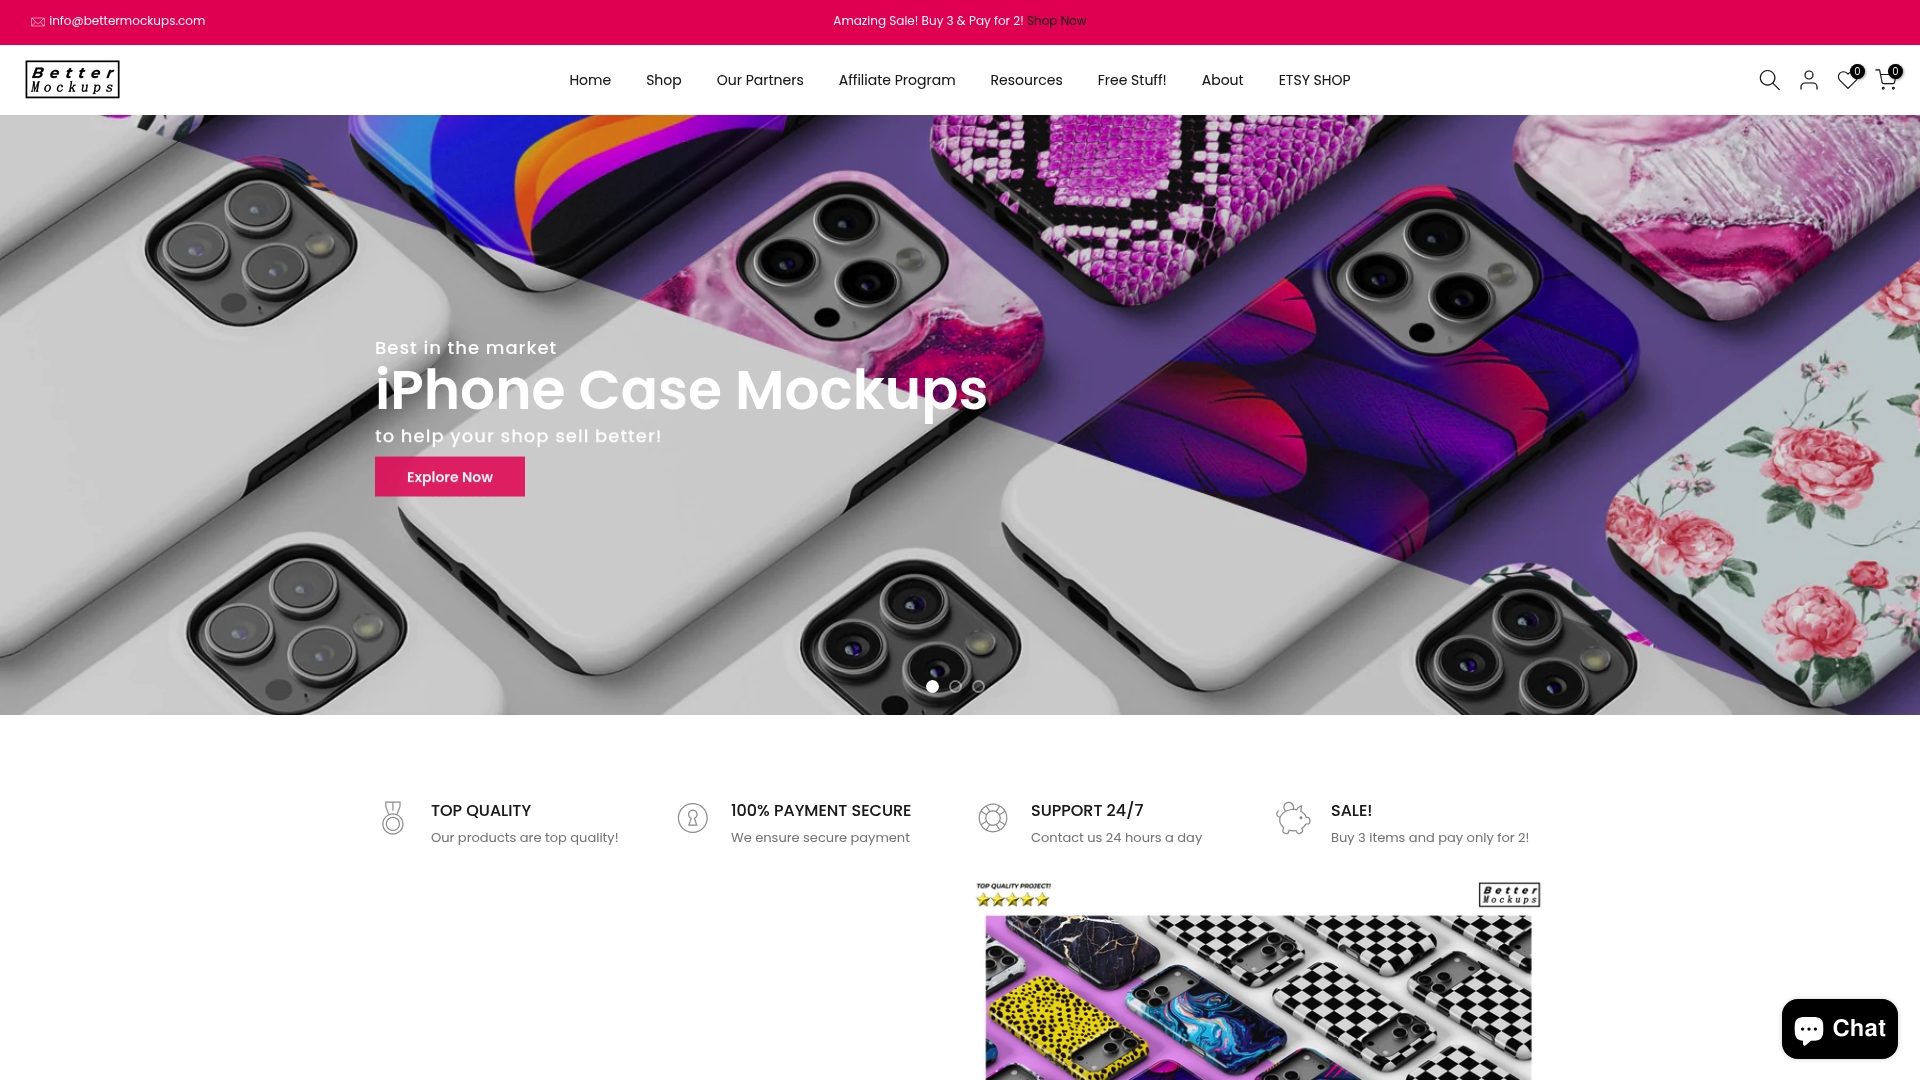
BetterMockups provides production-grade templates built from 3D models used by manufacturers. This means your mockups display accurate proportions and realistic lighting that match actual products. Customers trust visuals that look photorealistic, not sketchy or digitally simplified.
You’ll also want templates that work with your design software. If you use Photoshop, find PSD templates with organized layers. If you prefer Canva, look for phone case template options designed for that platform. Compatibility matters because incompatible templates waste time and create frustration.
A well-chosen template accelerates your entire design process and directly impacts how professional your final product looks to customers.
Once you’ve identified 2-3 candidate templates that match your phone model and design goals, test them with a sample design. See how your artwork looks when applied. Does the template show your design clearly? Are the proportions accurate? Does it match your brand aesthetic? This quick test prevents larger problems down the road.
Pro tip: Select templates that offer both light and dark background options—this lets you create mockups that work across different marketing contexts, from social media ads to email campaigns, without needing separate designs.
Step 2: Create and upload your custom design
Now that you have your template selected, it’s time to transform it with your unique design. This step is where your vision becomes reality, turning a blank canvas into a product your customers will want to display on their phones.
Start by opening your chosen design tool. Most e-commerce sellers use user-friendly platforms like Canva, which offer drag-and-drop interfaces perfect for custom phone case designs. If you’re working with Photoshop or another advanced editor, the principles remain the same—you’ll work within your template’s design zones.
Here’s a comparison of design tool options for phone case customization:
| Software Platform | Ease of Use | Best For | Common File Formats |
|---|---|---|---|
| Canva | Beginner-friendly | Quick edits, templates, non-designers | PNG, JPG, PDF |
| Photoshop (PSD) | Advanced control | High-detail work, professionals | PSD, PNG, TIFF, PDF |
| Online mockup tools | Web-based simplicity | Fast previews, e-commerce listings | PNG, JPG |
| Illustrator (AI) | Vector graphics | Logo/design precision, scalability | AI, EPS, PDF |
Begin with your core design elements. Add your photos, graphics, and text to create visual interest. Many successful sellers combine personal images with decorative fonts and color overlays to create eye-catching designs. Consider your target audience as you make these choices. A minimalist design appeals differently than a bold, colorful pattern.
Here’s what to focus on during the design phase:
- Center your focal point so it’s visible on the curved phone screen, not hidden at edges
- Test color contrast to ensure text and images stand out against the phone case background
- Use high-resolution images (at least 300 DPI) to prevent blurriness when printed
- Leave appropriate margins around edges to account for case seams and wrapping
- Preview your design directly on the phone-shaped template preview to catch issues early
Once your design looks complete, you’ll need to export it in the correct format. Export your finished artwork with print-ready specifications like PNG with transparent backgrounds or PDF depending on your production method. The right file format ensures your printing partner receives exactly what they need without quality loss.
Before uploading, verify that your file meets these technical requirements:
- Correct file type for your platform (PNG, PDF, or TIFF)
- Proper color profile (CMYK for print, RGB for digital displays)
- Resolution between 300-600 DPI for crisp printing
- File size within acceptable limits for your upload system
Exporting in the correct print-ready format separates amateur mockups from professional products that customers trust.
Now upload your design to your chosen platform or production partner. Most e-commerce and print-on-demand services accept uploads directly through their dashboards. Follow their specific guidelines carefully—file naming conventions, folder organization, and metadata details matter for inventory management.
After uploading, generate a mockup preview using your template. This shows exactly how your design will look on the finished case. Review it carefully from multiple angles. Does the design align properly? Are colors accurate? Does text remain readable? This final check prevents unhappy customers and return requests.
Pro tip: Save multiple versions of your design files in an organized folder structure—one with all layers intact for future edits, and one finalized version for production, so you can quickly make changes when customers request custom variations.
Step 3: Customize mockups for product presentation
Your design is complete, but how you present it matters just as much. This step transforms your design into a compelling visual story that converts browsers into buyers through strategic mockup customization.
Start by selecting which mockup angles and backgrounds best showcase your design. Phone case mockups serve as crucial marketing tools by offering realistic previews in various settings. You might display your case on a clean white background for marketplace listings, or in a lifestyle environment showing someone actually using the phone. Different presentations serve different purposes.
Consider your target platform when choosing mockup styles. Social media ads perform better with lifestyle mockups that show aspirational contexts. Marketplace listings like Amazon or Etsy often require clean, minimal backgrounds. Email campaigns benefit from bold, attention-grabbing angles. Your customization strategy should align with where your customers will see the product.
Focus on these key customization elements:
- Background selection to match your brand aesthetic and marketing channel
- Lighting adjustments to highlight texture and color accuracy of your case design
- Shadow and reflection settings that create depth and realism
- Multiple angle variations showing front, back, and side views
- Color profile matching between your mockup and actual product appearance
Adjust the texture and lighting to match real-world conditions. A silicone case needs different lighting than a leather case. Glossy finishes reflect light differently than matte surfaces. These details separate amateur presentations from professional mockups that customers trust before purchasing.
Create multiple versions of each design for different contexts. You might need a square mockup for Instagram posts, a rectangular version for website banners, and a vertical orientation for Pinterest. Having these variations ready saves time when updating your marketing materials.
Strategic mockup customization directly influences whether customers perceive your phone cases as premium products worth buying.
Test your customized mockups across different devices and screen sizes. What looks perfect on your desktop might display poorly on mobile phones where many customers browse. View them at actual size to catch any visual inconsistencies. Ask yourself: does the design pop? Can customers clearly see what makes this case special?
Export your final customized mockups in formats suitable for your sales channels. High-resolution versions work for print materials and professional presentations. Optimized web versions load faster on e-commerce platforms. Having multiple export formats ready keeps your workflow efficient.
Pro tip: Create a mockup template library with your favorite background and lighting combinations, then save these as presets so you can apply consistent branding across all your designs in just a few clicks.
Step 4: Review and finalize your case visuals
You’re almost at the finish line. This step separates polished, sellable designs from ones that create customer complaints and returns. A thorough review catches problems before your product launches.
Start by examining your mockups with fresh eyes. Step away for a few hours, then return to review. This distance helps you spot issues you missed while actively designing. Look at your images on multiple devices—desktop, tablet, and phone screens. What appears perfect on a large monitor might look cluttered on mobile.
Conduct a comprehensive visual quality check. Reviewing content accuracy and ensuring visual consistency prevents mistakes that undermine credibility. Verify that your design elements align properly with the phone case template. Check for color accuracy across all mockup variations. Ensure text remains legible at smaller sizes.
The following table summarizes factors influencing strong phone case product visuals:
| Factor | Impact on Sales | Typical Oversight |
|---|---|---|
| High-resolution images | Inspires customer confidence | Blurry/low-res uploads |
| Accurate color matching | Reduces returns, builds trust | Colors look off-brand |
| Consistent backgrounds | Supports clear branding | Incoherent visual style |
| Multiple angles shown | Guides buying decision | Flat, single-view only |
Work through this review checklist systematically:
- Image resolution is sharp and crisp with no pixelation or blurriness
- Color accuracy matches your original design and brand standards
- Text readability works at all sizes shown in mockups
- Alignment is perfectly centered with no warping or distortion
- Background consistency matches across all product angle variations
- Button and port access visuals are clearly visible and accurate
Pay special attention to edge details. Phone cases wrap around edges and corners. Ensure your design extends properly to these areas without cutting off important elements. Check that seams align naturally and don’t disrupt visual flow. Customers notice these small details.
Test your mockups in the context where they’ll actually be viewed. Upload them to your e-commerce platform and see how they display in your actual product listings. View them in emails, on social media, and in ads. Does the design still look appealing in each context? Does it stand out among competitors?
Finalizing visuals with precision alignment to your objectives ensures confident delivery and maximizes customer engagement.
Check your file organization and naming conventions. Are your mockup files clearly labeled for future reference? Can you quickly find variations without opening multiple files? Good organization saves time when customers request custom modifications or when you need to create similar designs.
Before publishing, get a second opinion. Show your mockups to someone unfamiliar with the design. Ask them what they notice first. Does the design communicate your intended message? Would they be compelled to purchase this case? Their fresh perspective catches what you’ve become blind to.
Pro tip: Create a final inspection checklist in a spreadsheet and test every mockup against it, then keep this document for future designs so you maintain consistent quality standards across all your phone case offerings.
Elevate Your Custom Phone Case Designs with Professional Mockups
Designing your own phone case comes with challenges like finding the perfect template, ensuring accurate design alignment, and showcasing your product with photorealistic quality. If you want to overcome these hurdles and present your phone case designs with confidence you need solutions that make your workflow smoother and your visuals more compelling. Your goal is to capture customer attention with crisp mockups that highlight every detail from multiple angles and backgrounds.
Discover how Bettermockups can streamline your process with high-quality templates crafted specifically for phone case designs. Whether you need PSD or Canva options our Best Sellers Collection – Bettermockups offers production-grade templates with true-to-life lighting and accurate button placements. Realistic previews can transform your product listings and social media campaigns by building trust and encouraging purchases. For dynamic marketing needs explore Video mockups (Video templates) for Phone Case business. – Bettermockups that bring your designs to life and boost engagement.
Why settle for basic mockups that fail to highlight your creativity? Act now to access professional, customizable phone case mockups that align perfectly with your design goals. Visit Bettermockups and start showcasing your custom phone cases with visuals that impress and convert.
Frequently Asked Questions
What are the steps to design my own phone case?
To design your own phone case, start by selecting the right template for your specific phone model. Next, create and upload your custom design, then customize mockups for product presentation, and finally review and finalize your visuals before launching. Follow each step carefully for the best results.
How do I choose the right phone case template?
Select a phone case template that matches your exact phone model to ensure proper fitting and alignment. Look for features like multiple angle views and high-resolution output for the best mockups.
What design software is best for creating custom phone cases?
Canva is user-friendly for beginners, while Photoshop is great for advanced users needing more control. Choose software based on your skill level and the complexity of your designs, focusing on platforms that support your chosen template.
How can I ensure my design will look good on the final product?
To ensure your design looks good on the final product, use high-resolution images and check color accuracy in various mockup settings. Conduct a visual quality check on multiple devices, making necessary adjustments before uploading for production.
What file format should I use when exporting my phone case design?
Export your finished artwork in print-ready formats like PNG or PDF, depending on your production method. Verify that your file meets requirements such as resolution and color profile to prevent quality issues.
How do I create mockups for my custom phone case?
Create mockups by selecting angles that showcase your design well and matching backgrounds to your brand’s aesthetic. Adjust lighting and shadows to enhance the realism of the mockup, and generate multiple versions for various marketing channels.
Recommended
- how to 3d print phone case – Beginner’s guide with mockups and POD – Bettermockups
- How to Start a Thriving Phone Case Business – Bettermockups
- Mastering the iPhone Case Templates/Mockups – Bettermockups
- Your Guide to Phone Case Template Download – Bettermockups
- How to Customize Engagement Ring for a Perfect Fit


